

Are you tired of looking at your dull, scratched, or damaged wooden floors? Floor sanding may be the solution to all your problems! This process involves removing the old layers of wood from your floor and exposing a fresh new layer beneath. Not only does it make your floors look brand new again, but it can also increase the value of your home. In this blog post, we’ll explore the top reasons why you should consider sanding your old floor and provide tips on how to prepare for the process. So let’s dive in!
● Increases The Value Of Your Property
Floor sanding is not only beneficial for the aesthetic appeal of your floors, but it can also increase the overall value of your home. This is particularly important if you are planning on selling or renting out your property in the future.
When potential buyers or renters visit a property, one of the first things they notice when entering a room is the flooring. Old and worn-out floors can make even the most beautiful homes look dingy and uninviting. On the other hand, freshly sanded and refinished wooden floors have an undeniable allure that can instantly transform a room into a warm and welcoming space.
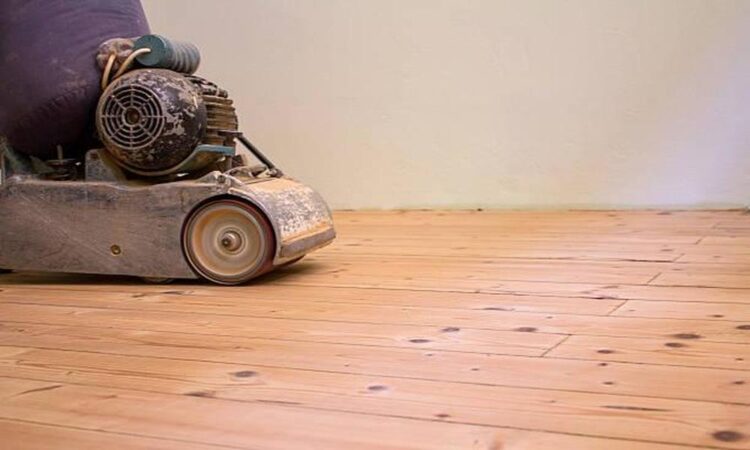
● Makes Your Floors Look New Again
If you have wooden floors that are looking old and worn out, floor sanding could be the solution to restore them to their former glory. Over time, foot traffic, spills, scratches, and other damage can make your hardwood floors look dull and lifeless. However, with the help of a professional floor sander, you can breathe new life into your floors.
● Repairs Damage To Your Floors
Sanding provides homeowners with an efficient solution for restoring their flooring beauty without having to replace it entirely when signs of age appear visible over time due to daily foot traffic or other forms of impact which may lead to further deterioration if left unattended altogether!
How To Prepare For Floor Sanding
- Preparing for the process of sanding is crucial to ensure a successful outcome. Firstly, it’s important to clear the room of all furniture and décor. This will not only make the process easier for you but also protect your belongings from dust and debris.
- Next, inspect the floors carefully for any protruding nails or screws that may damage the sander or cause injury during sanding. Use a hammer or pliers to remove them if necessary.
- Before starting the sanding process, cover any electrical sockets, vents, or light fixtures with plastic sheeting and masking tape to prevent sawdust from entering them.
- It’s also essential to wear protective gear such as goggles, masks, and gloves when sanding as sawdust can be harmful when inhaled. Consider investing in an industrial-strength vacuum cleaner specifically designed for picking up fine particles like sawdust.
- Choose an appropriate grit size depending on how much wood needs removing and follow manufacturer instructions carefully when using the sander.
With these steps taken care of beforehand, you’ll have a smoother experience while achieving beautiful results!